Intro to dApp's: Create your dApp backend w/Solidity

In the previous post, we talked about creating a dApp frontend w/React. In this post, we will build the backend for our dApp and connect the two pieces.
Before we deep dive into the code, I've laid out some fundamentals for building the application's backend. Then we'll move on to creating a basic smart contract and putting the two pieces together.
Please note: In this article, we will be referring to dApp's on the Ethereum blockchain.
Intro to Decentralized App's (dApp's)
In the most basic form, a dApp consists of a backend (smart contract) and a frontend user interface.
Smart Contracts
A smart contract is a computer program stored on the blockchain. When the conditions of a smart contract are met, the code is executed by the Ethereum Virtual Machine (EVM). It's basically the server-side of the application.
Solidity is one of the most popular smart contract languages for Ethereum.
Transaction & Gas Fee
An Ethereum transaction refers to an action initiated by an account on the blockchain. For example, sending tokens to another account, buying an nft, swapping tokens are transactions on Ethereum.
Each transaction on the blockchain has a cost. So when you want to interact with a smart contract, you need to pay the "gas fee."
Gas is the measure of the unit to denote the cost for a transaction. Accordingly, gas fees are the fees that are paid to the network to process the transactions. On Ethereum, gas fees are paid in ETH and denoted in gwei (10-9 ETH). When there is a lot of demand for the network, the gas fees increase, you can check the gas fees from the Ethereum gas tracker .
Application Binary Interface (ABI)
The Contract Application Binary Interface (ABI) is the interface between two program modules. Simply put, ABI is like the API (Application Programming Interface) in the Ethereum world. It defines the methods and structures to interact with the smart contract.
How to create your own dApp w/Solidity and React
Create your Smart Contract
Project Tools
- Metamask Wallet: crypto wallet.
- Alchemy: ethereum developer platform. We will be using the Alchemy API to interact with Alchemy's Ethereum infrastructure.
- Hardhat: ethereum development environment. It comes as an npm package.
Prerequisites
- Choose your IDE and get the "solidity extension." I am using VS Code and am very happy with it.
- Create an account on metamask and switch to the rinkeby test network.
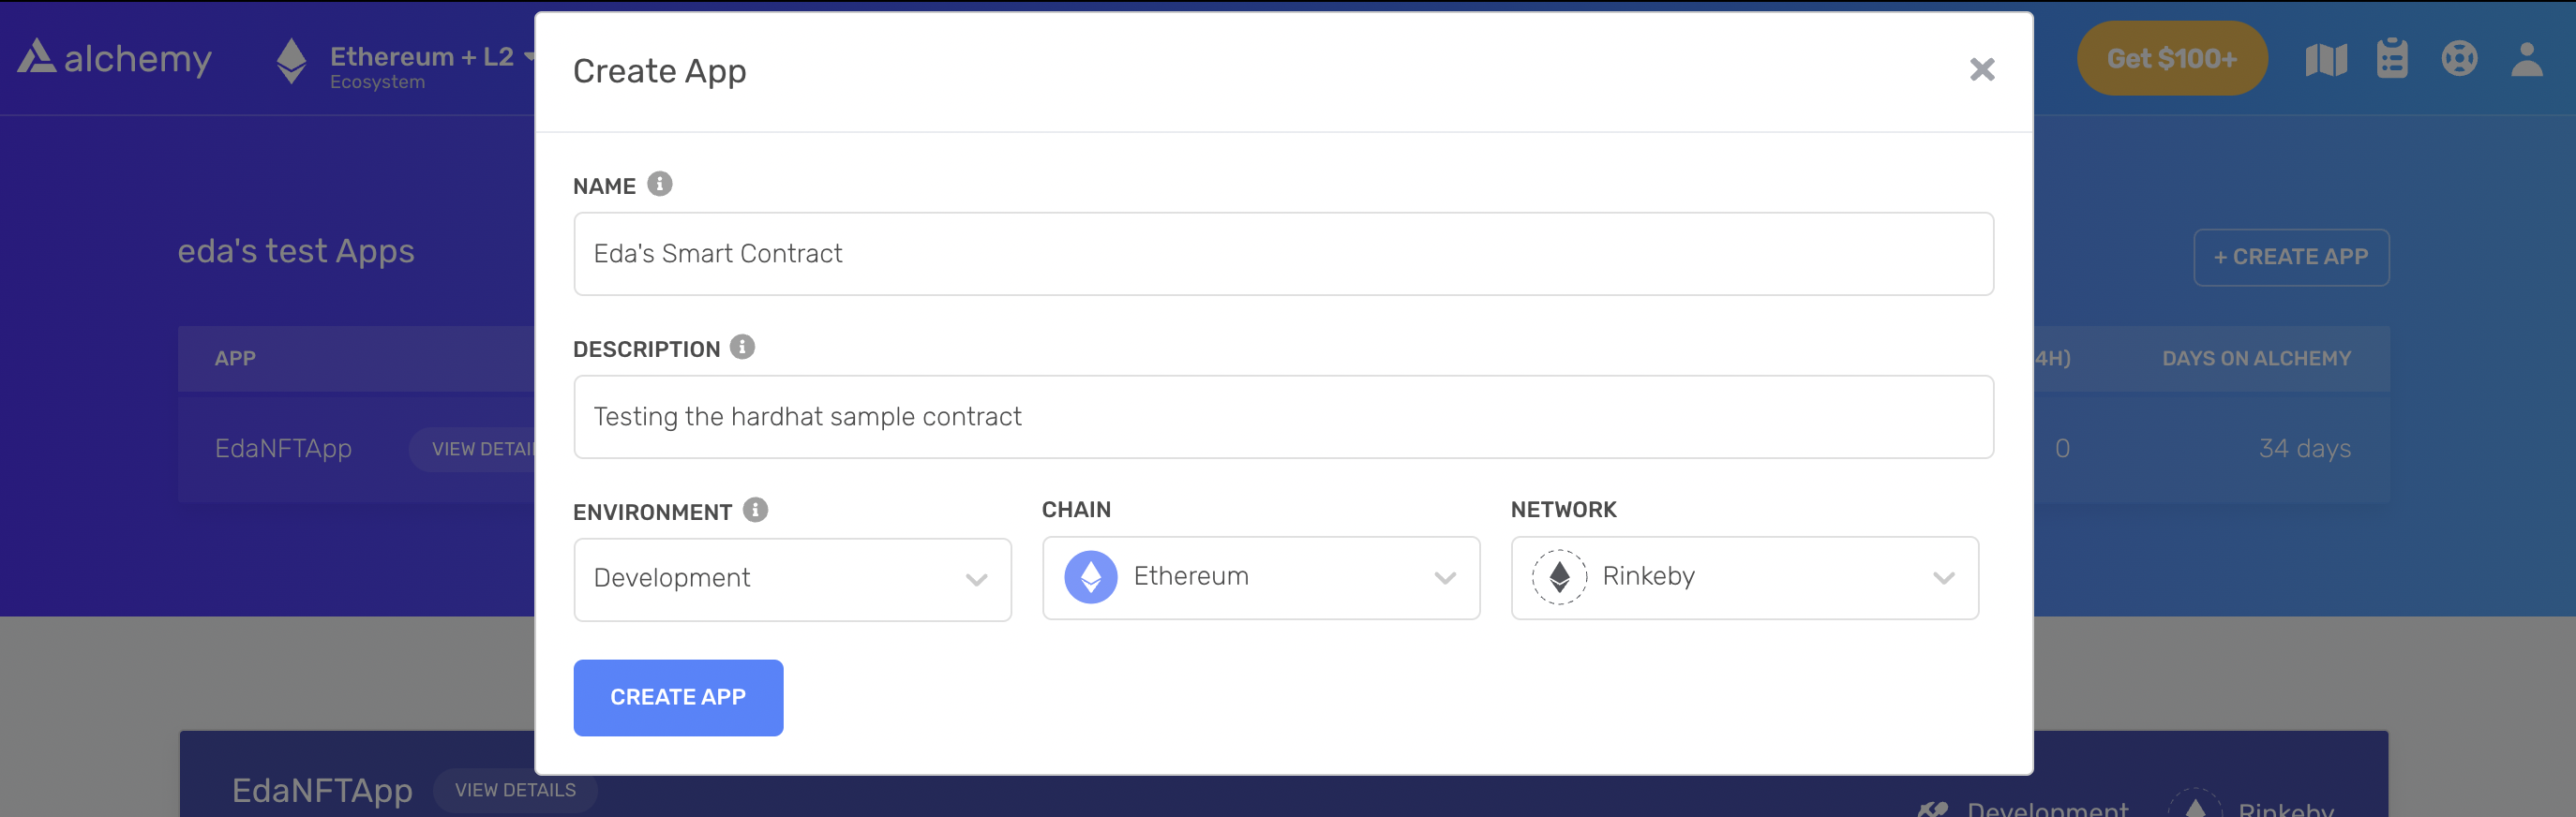
Get your Alchemy API key. You will need to create an account on Alchemy. Then when logged in, create an App on the Rinkeby Test Network. Here's how your App settings should look like:
 Once created, head over to the app details and get your key by clicking "view key" on the top right.
 Install node.js.
Get some Rinkeby Test Network Ethereum. Try the faucet here to get some Rinkeby ETH.
Building the Smart Contract
Create a project folder and head over to its directory. Install hardhat.
mkdir eda-sample-smart-contract
cd eda-sample-smart-contract
npm init -y
npm install --save-dev hardhat
In your project directory create a hardhat project by running
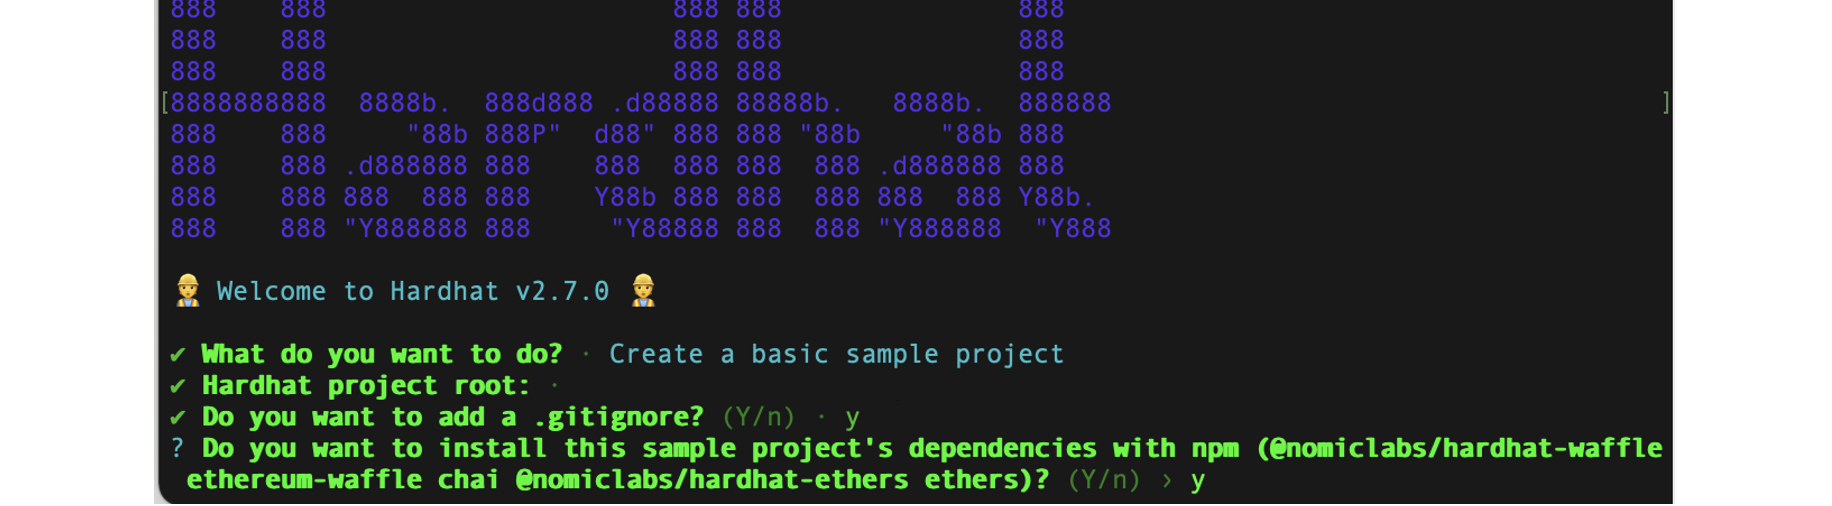
npx hardhat.$ npx hardhatThe setup wizard will show up. Click enter throughout and keep the default options. Hardhat will create a sample project and install the dependencies for you. Here's how your terminal should look like:
Open the project from your code editor. Under the 'Contracts' folder, you should see the default Greeter.sol file. ".Sol" is the file extension for the solidity language, and it's our sample smart contract. I've added the smart contract below with some comments to explain what's going on.
//SPDX-License-Identifier: Unlicense
pragma solidity ^0.8.4; // add the solidity version for the compiler

import "hardhat/console.sol";

// create the smart contract
contract Greeter {

  // create a variable called greeting that will be stored in the contract
  string private greeting;

  constructor(string memory _greeting) {
      console.log("Deploying a Greeter with greeting:", _greeting); // print to the console
      greeting = _greeting;
  }

  // create a function to give the greeting message
  // public: functions are public by default, anyone reading from the contract can call it
  // view: the function will not modify the state, it will only return a value
  // returns: the function declaration tells the type of the return value, here the return type is a string
  function greet() public view returns (string memory) {
      return greeting;
  }

  // create a function to change the greeting message
  function setGreeting(string memory _greeting) public {
      console.log("Changing greeting from '%s' to '%s'", greeting, _greeting); // print to the console
      greeting = _greeting;
  }
}
Get your Alchemy API key; it's needed to talk to the Rinkeby Test Network from the smart contract. Add it to the hardhat.config.js (see code snippet under step-6).
Add your metamask private key to hardhat.config.js. You can get you private key by clicking Account Details --> Export Private Key from your Metamask extension.
require('@nomiclabs/hardhat-waffle');

module.exports = {
solidity: '0.8.4', // make sure the version matches the one in smart contract file
networks: {
  rinkeby: {
    url: ' ', // rinkeby key
    accounts: [' '], // metamask privte key- DO NOT SHARE THIS!! It has access to all your accounts
  },
},
};
We need to take our contract from our local machine and put it onto the Rinkeby Test Network. For this, we will use the sample-script.js file under the 'Scripts' folder. (It's usually called deploy.js; but let's leave it as is for this sample project.) Run the command below to deploy the contract to the Rinkeby Test Network.
npx hardhat run scripts/sample-script.js --network rinkeby
🎉 Once you see the details of your smart contract on the terminal, it means that your smart contract is deployed onto the Rinkeby network! For the next steps, you will need the smart contract address and the ABI. Here is where you can find them:
- The smart contract address is printed on the terminal
- There is a new folder called artifacts that is generated after deploying the smart contract. The ABI is the json document(Greeter.json) on the following path artifacts/Contracts/Greeter.json.

Connect to your Smart Contract from the frontend
Prerequisites
- In this section, we will use the code from the Intro to dApp's: Create your dApp frontend w/React post. Follow the steps there to create your frontend w/React. Make sure you have ethers.js installed.
Building the frontend of your dApp
Add the contract address to App.js.
// add the contract address
const contractAddress = " "
We need to add the contract ABI. Copy the ABI file (greeter.json) from the smart contract and add it under /src in the react project.

Import greeter.json which is the contract abi to App.js.
import Greeter from './greeter.json'Import "useRef" from react to store the mutable greeting value to App.js.
import { useEffect, useState, useRef } from 'react';Inside the App construct on App.js define a new variable to keep the greeting message.
const userGreeting = useRef();Add the functions to get the greeter message and another to set the greeter message. Have a look at the code below, I have added comments to explain what's going on. Add the code snippet to App.js
const getGreeting = async () =>  {
  // check that there is a wallet connected
  const { ethereum } = window;
    if (ethereum) {
      // provider is a connection to the ethereum node
      const provider = new ethers.providers.Web3Provider(ethereum);
      // signer is used to sign messages and transactions
      const signer = provider.getSigner();
      // connect to the smart contract
      const contract = new ethers.Contract(edasSmartContract, Greeter.abi, signer);
      // call the greet function on the smart contract
      const message = await contract.greet();
      // pop up the greet message
      alert(message);
    }
}

const setGreeting = async (event) => {
  event.preventDefault();
  if (userGreeting.current.value === '') {
    return;
  }
  const { ethereum } = window;
  if (ethereum) {
    const provider = new ethers.providers.Web3Provider(ethereum);
    const signer = provider.getSigner();
    const contract = new ethers.Contract(edasSmartContract, Greeter.abi, signer);
    const transaction = await contract.setGreeting(userGreeting)
    await transaction.wait()
    getGreeting() // go back to the getGreeting() func to give the user the greeting
  }
}
Next, modify the walletConnected() component to display buttons which call the getGreeting() and setGreeting() functions.
//wallet connected
const walletConnected = () => (
 <div>
   <p>Connected to the wallet</p>
   <button onClick={getGreeting}>Greet</button>
   <br/>
   <form onSubmit={setGreeting}>
    <button type="submit">
      Submit New Greeting Message
    </button>
    <br/>
    <textarea
      ref={userGreeting}
      placeholder="add your new greeting message here!"
    ></textarea>
    </form>
  </div>
);
Run the app with the command below. Open http://localhost:3000 to view it in the browser.
npm start
🙌 If everything is working, when you click the "Greet" you should see the greeting message pop up. You can also change the greet message by submitting a new one; it will ask you to sign and pay for the transaction since you are performing an action on the Rinkeby Network. (I've made some changes to App.css to my UI prettier 😀)

This is a basic introduction to creating your own dApp on Ethereum. As a next step, I'd highly recommend the following resources:
- Buildspace: a platform for developers to learn about web3 by creating cool projects. It's a fantastic learning resource where you can also connect with other fellow developers looking to get in the web3 world
- Cryptozombies: an interactive platform for making smart contracts in Solidity or Libra.
Hope you enjoyed the article! If you have any questions or comments, feel free to drop them below or reach out to me from Twitter!


