Getting Started w/StarkNet & writing smart contracts Cairo

TL;DR:
- StarkNet is a permissionless decentralized ZK-Rollup enabling Ethereum to scale via cryptographic protocols.
- STARKs are a proof system used & created by StarkWare. STARKs have an important role in blockchain scalability and used in StarkNet.
- StarkEx is a permissioned & app-specific scaling engine.
- Cairo is the programming language for creating provable programs. You can use Cairo to write smart contracts on StarkNet.
- Protostar is a StarkNet smart contract development toolkit to compile and deploy smart contracts
There are different Layer 2 scaling solutions on top of Ethereum to help the Ethereum scale. If you have interacted with Ethereum at a peak time theres a high chance you've seen the high cost and slow transactions. That's where StarkNet comes into play. StarkNet is a ZK-Rollup solution that uses STARKs and has its own programming language.
In this post I want to cover the following:
- What are Rollups & what's StarkNet, StarkWare and STARKS
- What's Cairo & why do we need another smart contract programming language
- How to write smart contracts in Cairo & deploy to StarkNet
- My experience and concluding ideas
Let's get to it! 🙌
Introduction to StarkNet, STARKS & Cairo
What's StarkNet?
StarkNet is a permissionless decentralized ZK-Rollup (also called as Validity-Rollup). It is a Layer 2 network on Ethereum(Layer 1), enabling Ethereum to scale via cryptographic protocols.
StarkNet’s Alpha launched to Mainnet in November 2021; on September 2022, StarkNet Alpha 0.10.0 was released.
StarkNet was created by StarkWare. Starkware developes STARK based solutions for the blockchain world and are the inventors of "ZK-STARKs", which we will discuss in a bit.
But first, what are rollups?
Rollups are one of the most popular ways to solve blockchain scalability.
A Rollup solution combines a bunch of transactions into one, and then it will only submit a consolidated transaction to the Layer 1 blockchain. In other words, the rollup will handle the computation and state-storage off-chain and then submit transaction data to the mainnet. This reduces the data that will be handled on Layer 1.
Two main categories of Rollups today are Optimistic Rollups(ORUs) & Zero Knowledge Rollups (ZKRs).
Optimistic and ZK-Rollups differ in how they verify the transactions on Layer 1. Optimistic Rollups rely on fraud-proof, while ZK-Rollups rely on validity proofs. We will not be diving deep into how the two work, but here's a short overview:
- Fraud Proofs present proof that a state transition was incorrect. The system assumes that the proof was correct unless proven otherwise. They reflect an optimistic point of view, hence the optimistic name for rollups.
- Validity Proofs present proof that a state transition is correct. Meaning that the state will only change if a validity proof is submitted.
StarkNet is a Zero Knowledge Rollup meaning that it uses Validity Proofs. Okay, so now we need a method to provide such proof; that's where STARKs come in. STARK is a proof system that enables generating validity proofs.
STARKS: Cryptographic Proof System
StarkNet uses a cryptographic proof system called Scalable Transparent ARgument of Knowledge (STARK).
STARKs offer scalability and transparency (the S and T in STARKs). ZK-STARKs add Zero Knowledge to this. In cryptography, zero-knowledge is a way of proving the statement without actually revealing the statement. ZK-STARKs were created by StarkWare.
Here is how the system works very simply: the computations are done off-chain by a STARK prover and then the result & the proof that the computation was done correctly is sent on-chain to be verified by a STARK verifier.
There is some cryptography going on in STARKs, to say the least, and there needs to be a way to write programs that can utilize this functionality. That is why a new programming language called Cairo was designed for this.
Cairo: Programming Language
StarkNet Contracts and the StarkNet OS itself are written in Cairo. Cairo is a Turing complete programming language to use STARKs. The walkthrough guide below will walk through an intro Cairo smart contract.
A lot of mathematics goes behind creating STARK-provable programs, and Cairo allows developers to utilize these to provide scalability to the dApp.
Cairo 1.0 was recently announced in September 2022 and is planned to be released in December.
- The advantage is that Cairo is very specific & not bound by the limitations of the EVM. You can write very efficient code.
- The disadvantage, in my opinion, is that Cairo is not easy. It is similar to assembly code and has a lot steeper learning curve. Another point worth mentioning is that it is a language being developed, so you will not be able to find all the errors, and lots is missing in terms of documentation and functionality at the moment. You will also need to maintain the repo to have the latest updates as you are writing code. There are not many educational guides as well.
There's also a team at Nethermind working on a Solidity to Cairo transpiler called Wrap. This way smart contracts can be written in solidity as well.
StarkEx
It's worth covering what StarkEx is before moving on. StarkWare has two different solutions that use STARKs: StarkNet and StarkEx.
StarkEx is an app-specific and permissioned crypto engine developed by StarkWare that uses STARKs. You can read more over here.
On the other hand, StarkNet is general-purpose and permissionless. Anyone can create an app on StarkNet.
🌟 Congrats on coming this far! I know there have been lots of STARKs thus far; now we're moving on to deploying a smart contract to StarkNet!

Building on StarkNet
In this post, I want to illustrate how to set up a local development environment & deploy a smart contract written in Cairo to StarkNet Alpha.
We will not be diving into Cairo for this tutorial and will just look into the intro smart contract. To learn more about Cairo, I'd highly suggest looking into the guides by N. Darlington🐺
Reminder on Glossary: You'll see a lot of Layer 1 and Layer 2 mentioned here. L1 is referring to Ethereum, and L2 is the StarkNet network.
Tools
- Argent X: Browser extension smart contract wallet for StarkNet
- Voyager: Block explorer for StarkNet. Like Etherscan for Ethereum. Also has a StarkNet Goerli
- Protostar: Smart contract development toolchain for StarkNet
- StarkNet Bridge: Layer 1 <> Layer 2 communications
Wallet Setup & Transfer Tokens
*Please note this section is not required for the deploying a contract part. But I'm adding it here since its essential to get the wallet and understand how to use the StarkNet network from Ethereum. It's also simple to follow along and get setup.
There isn't a native capability on Metamask for StarkNet at the moment, instead we will need to setup a new wallet. I'm using Argent X. It's a browser extension wallet on StarkNet. This will be our interface into the StarkNet Ecosystem. Another popular wallet is Braavos.
Argent X Wallet Setup
- Add the Argent X Brower extension & set a password.
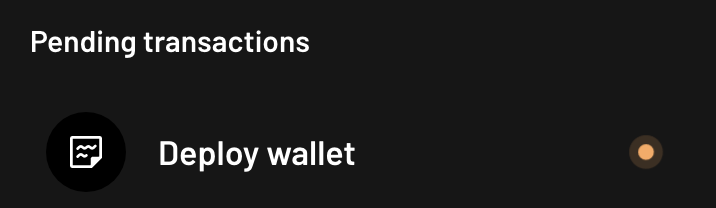
- Open extension, click “New Wallet” and deploy (this may take a few minutes).
- Setup an account recovery so that you don’t loose access to your wallet
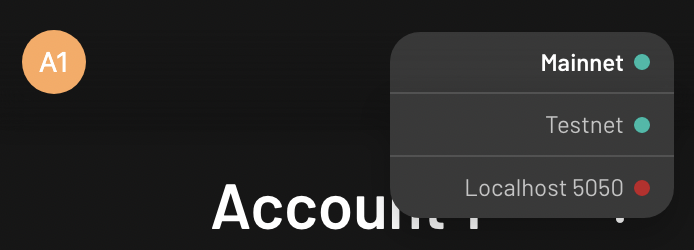
- The networks available are: Goerli Testnet & Ethereum Mainnet. You also have the option to test it out on localhost.
Just like interacting on Ethereum every transaction has a cost (its lot less compared to Ethereum itself). In order to pay for this cost we need TestNet tokens. At the moment there is no gas fee for account deployment on StarkNet Alpha. However, this will be changed as mentioned in the article here.
Goerli Tokens on Starknet
There are two ways to get Goerli TestNet Eth:
- From the Goerli Starknet faucet, from where you can directly get tokens on L2
- Use an L1 faucet to get Goerli TestNet tokens and then bridge them from L1 to L2 . A token bridge enables to move tokens from one network to another.
Goerli StarkNet Faucet
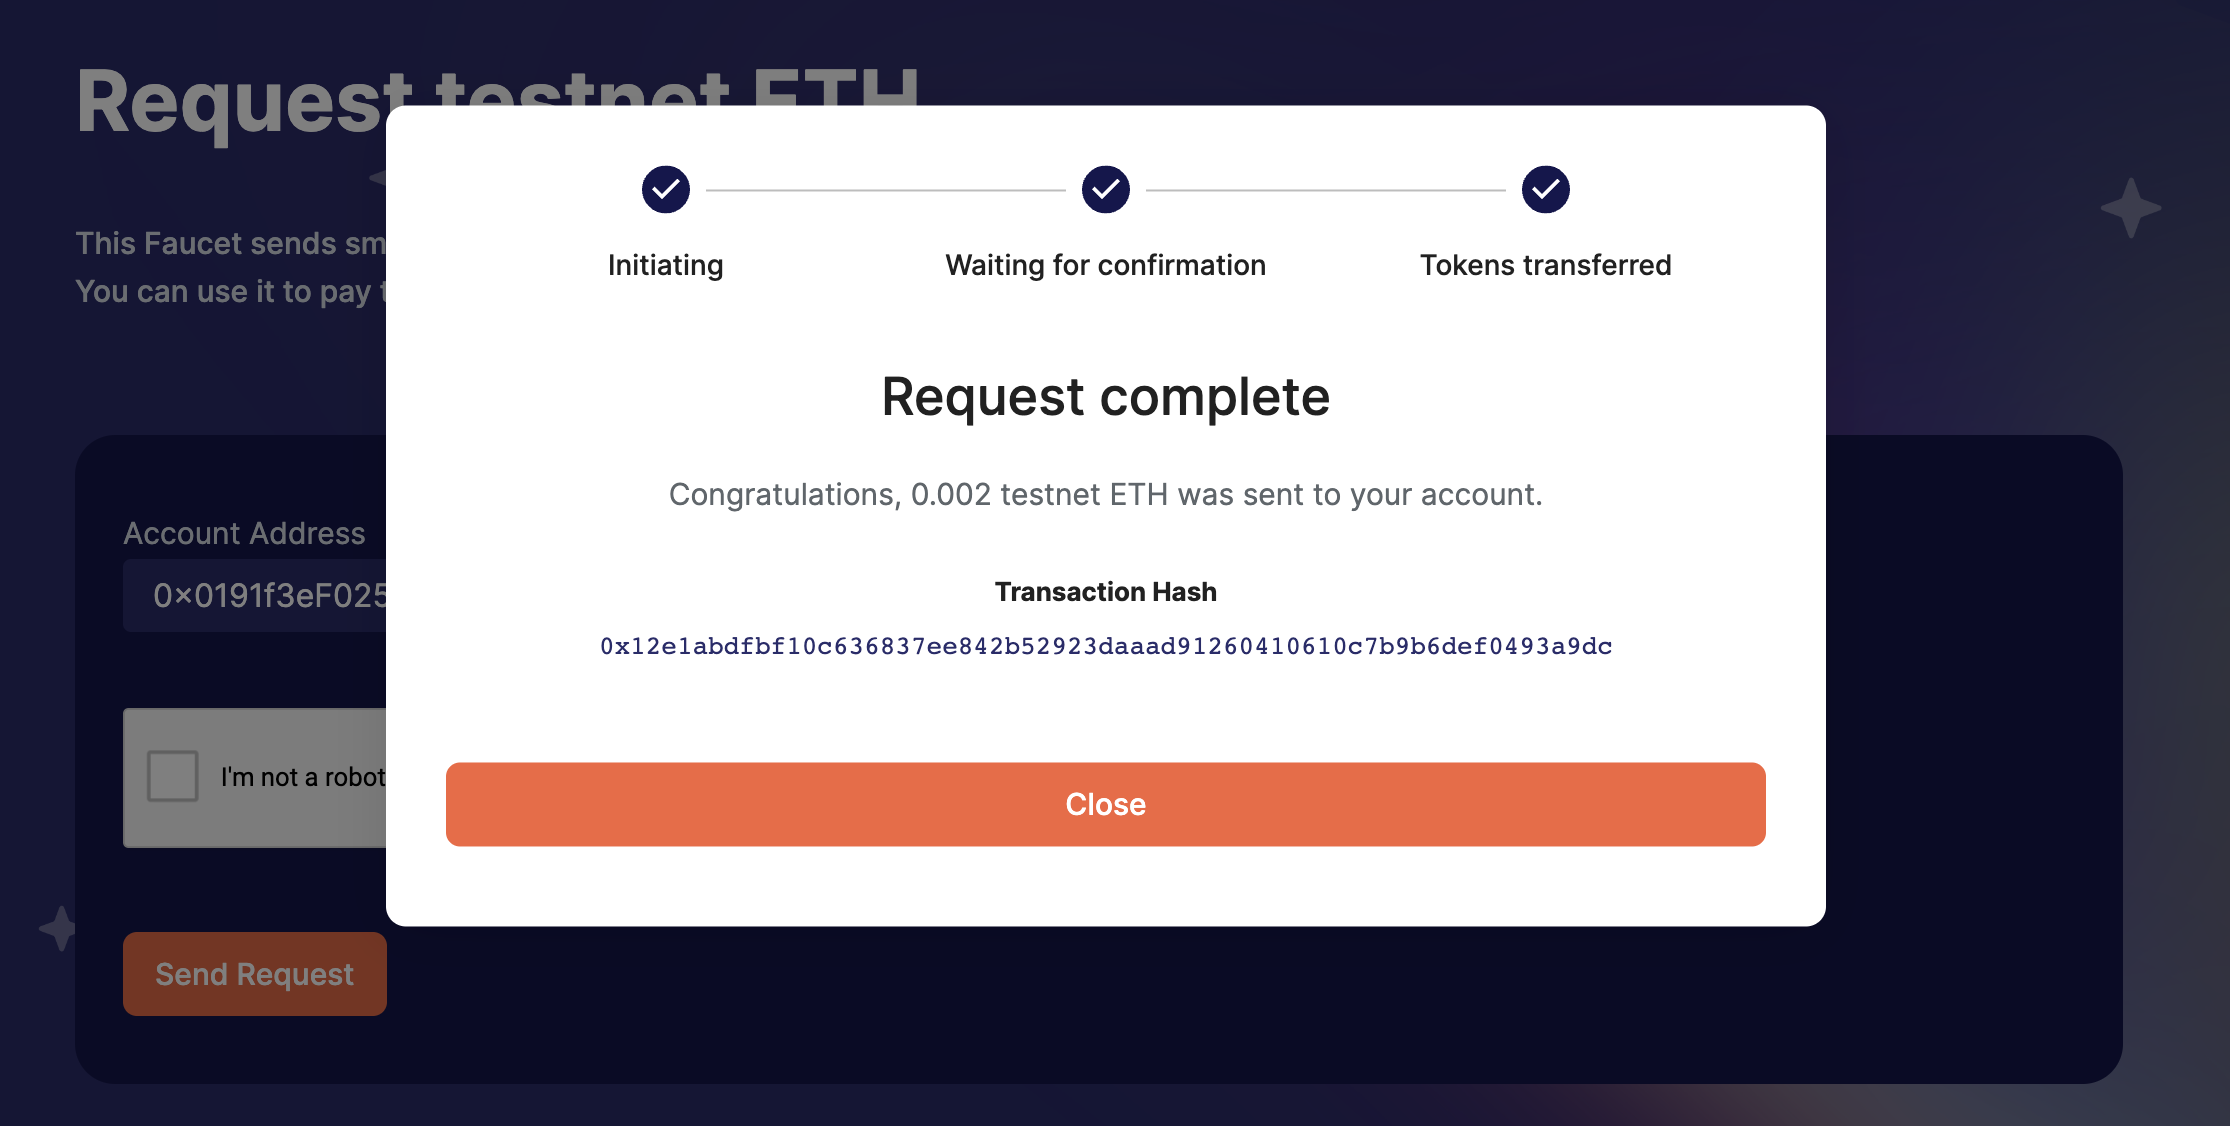
- Go to the StarkNet faucet
- Input your wallet address and click "Send Request"
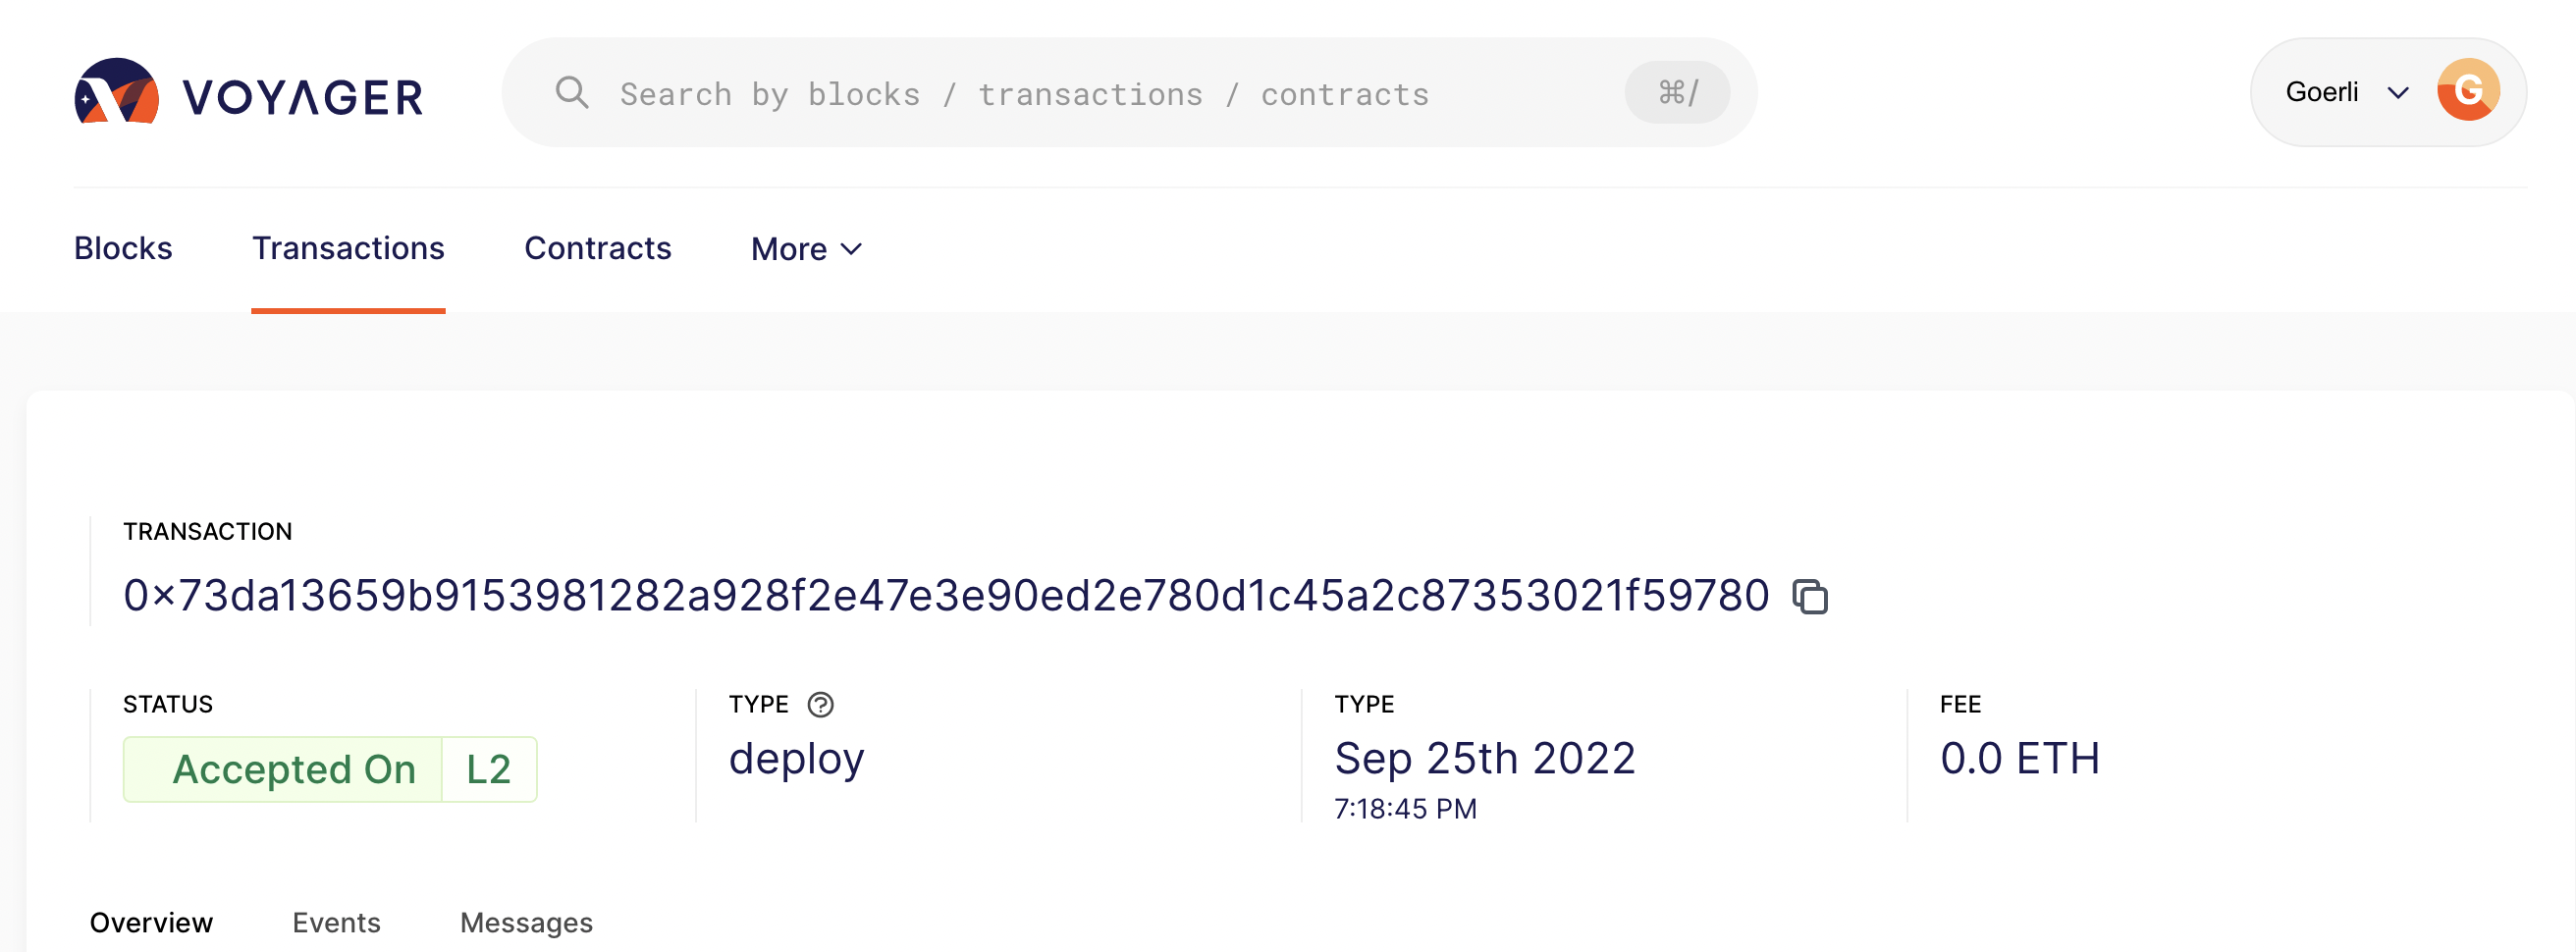
- Once the transaction is complete you should get the tokens! You can view your transaction on Voyager
Bridge Goerli TestNet Tokens
- Make sure to add the Goerli TestNet on Metamask.
- Next we need to get some Goerli TestNet from a faucet. The Paradigm faucet works pretty well. Head over to the faucet and enter your account address to get some tokens.
- After getting the Goerli TestNet tokens we need to transfer them to StarkNet. Basically the tokens are on L1 and we need to move them to L2. We will use the StarkNet’s native bridge to send tokens to L2.
Create & Deploy a Smart Contract w/Protostar
I'll be using Protostar, a StarkNet smart contract development toolkit to compile and deploy the smart contracts in this section. There are other options, such as Nile developed by OpenZepplin and StarkNet CLI. I’ve chosen Protostar because it had the best documentation in my opinion.
*Please note that Protostar is supported on Linux and Mac. There is no Windows support at the moment.
Install Protostar
curl -L https://raw.githubusercontent.com/software-mansion/protostar/master/install.sh |
bash
You can check the version that you have installed & use the "--help" keyword to see the available commands
protostar -v

Create a new project
protostar initIt will ask you give a name to the directory. You can specify the name and then leave the following option blank to use the default option for the libraries dir.
Here's how the project folder looks like when the setup is complete, its very fast.

- protostar.toml: project configuration file. Contains the version, what to compile, where to load the libraries from. If you change any directory name or add new files you might need to edit the content here.
- src: default directory for your smart contracts. You can change the same and update the configuration on the conf file.
- tests: default dir for tests
- lib: libraries will be installed here
Open the smart contact in the "src" folder called "main.cairo".
I’m using VS Code to open the file and added the Cairo extension. We’ll not be modifying the code for this tutorial but I’ve added the contract & some comments to explain what’s going on below.
// declares the file as StarkNet contract
%lang starknet

from starkware.cairo.common.math import assert_nn
from starkware.cairo.common.cairo_builtins import HashBuiltin

// define a storage variable. We can use: balance.read() & balance.write() that are
// available with the @storage_var decorator.
@storage_var
func balance() -> (res: felt) {
}

// external functions can be called by users of StarkNet and by other contracts
// func to increase the balance of a given account
@external
func increase_balance{syscall_ptr: felt*, pedersen_ptr: HashBuiltin*, range_check_ptr}(
  amount: felt
) {
  with_attr error_message("Amount must be positive. Got: {amount}.") {
      assert_nn(amount);
  }

  let (res) = balance.read();
  balance.write(res + amount);
  return ();
}

// view functions queries the state but can not modify.
// reads the balance and returns the value
@view
func get_balance{syscall_ptr: felt*, pedersen_ptr: HashBuiltin*, range_check_ptr}() -> (res:
felt) {
  let (res) = balance.read();
  return (res,);
}

// constructor is used to initialize the state
// the constructor only runs once at contract deployment. It cannot be called again
@constructor
func constructor{syscall_ptr: felt*, pedersen_ptr: HashBuiltin*, range_check_ptr}() {
  balance.write(0);
  return ();
}
Let's now compile the smart contract. First we need to specify which contract we want to compile in the protostar.toml file. By default the main.cairo contract is defined here, so we won’t be changing anything for this tutorial.
["protostar.config"]
protostar_version = "0.4.2"

["protostar.project"]
libs_path = "lib"

["protostar.contracts"]
main = [
  "src/main.cairo",
]
Run the command to compile the project
protostar buildThis will generate two files: smart_contract_name.json & smart_contract_name.abi

Deploy the smart contract . The deploy transaction does not require a fee at the moment and this is planned to change on future version updates, more details here.
protostar deploy ./build/main.json --network alpha-goerliIf all goes well, on the terminal you should see the output which gives the details of deployed contract.

Please note that it takes some time to deploy the contract and see it on Voyager. So don’t worry if you don’t see the contract directly appear there 😊
Notes on deploy: The deploy command send an unsigned deploy transaction, this means that is does not deploy from any account. To deploy a contract from an account you will need to use the StarkNet CLI, it is not supported on Protostar and plans to be updated on the next release. To deploy a contract from your own wallet you'll need to use declare and invoke and then sign the invoke transaction
There you go!! You've deployed your smart contract in Cairo to StarkNet Alpha! 🤯🤯
My experience & ideas
Overall, I think the technology is very interesting and has a lot to dive into. As a developer, it is fair to say that documentation is missing very much, and it was tough for me to find the right places and resources. There are not many educational guides or comprehensive tutorials. This also presents a huge opportunity for those that would like to get involved & contribute.
I highly suggest following N. Darlington🐺 if you are a developer learning Cairo. You can check out his blog for guides on Cairo & Starknet.
Hope that this was helpful! I think it's good to learn about different solutions, and it provides new perspectives. I'll be continuing to write about other technologies and tools that I find interesting.
If you have any questions or comments, please drop them below. Catch you on the next one!


