


Create your Generative NFT Collection on Polygon
Auto generate the images & store them on IPFS via Pinata


tldr; I created my generative NFT collection on Polygon. The images are stored on IPFS, and I used Pinata to make it easy to upload & manage the NFT media. The collection consists of 20 NFTs, and they are variations of my bitmojis with different backgrounds. I have deployed it to Polygon, and it cost me <0.5$ to do so.
In this post, I want to cover an introduction to file storage with IPFS using Pinata and then a step-by-step guide to creating a Generative NFT Collection & deploying it to the Polygon Network.
Introduction
NFT stands for Non-Fungible Token.
- Non-fungible refers to goods that have unique properties and can not be exchanged with one another.
- Token a token is a digital asset living on top of the blockchain.
Basically, NFTs are unique digital assets on the blockchain. They are created by running the code on the smart contract. This process is called "minting."

Once you mint an NFT, you can see it in your crypto wallet. You can then use secondary markets to buy/sell NFTs. Today, OpenSea is the most popular secondary market. There are others such as Rarible and SuperRare.
ERC-721 is the standard smart contract that creates an NFT on Ethereum. Each token has a different tokenId, making it a unique asset.
NFT Media
NFTs contain some data. This generally includes an image, description, and some other properties. For example, let's have a look at the Ape from the Bored Ape Yacht Club collection.
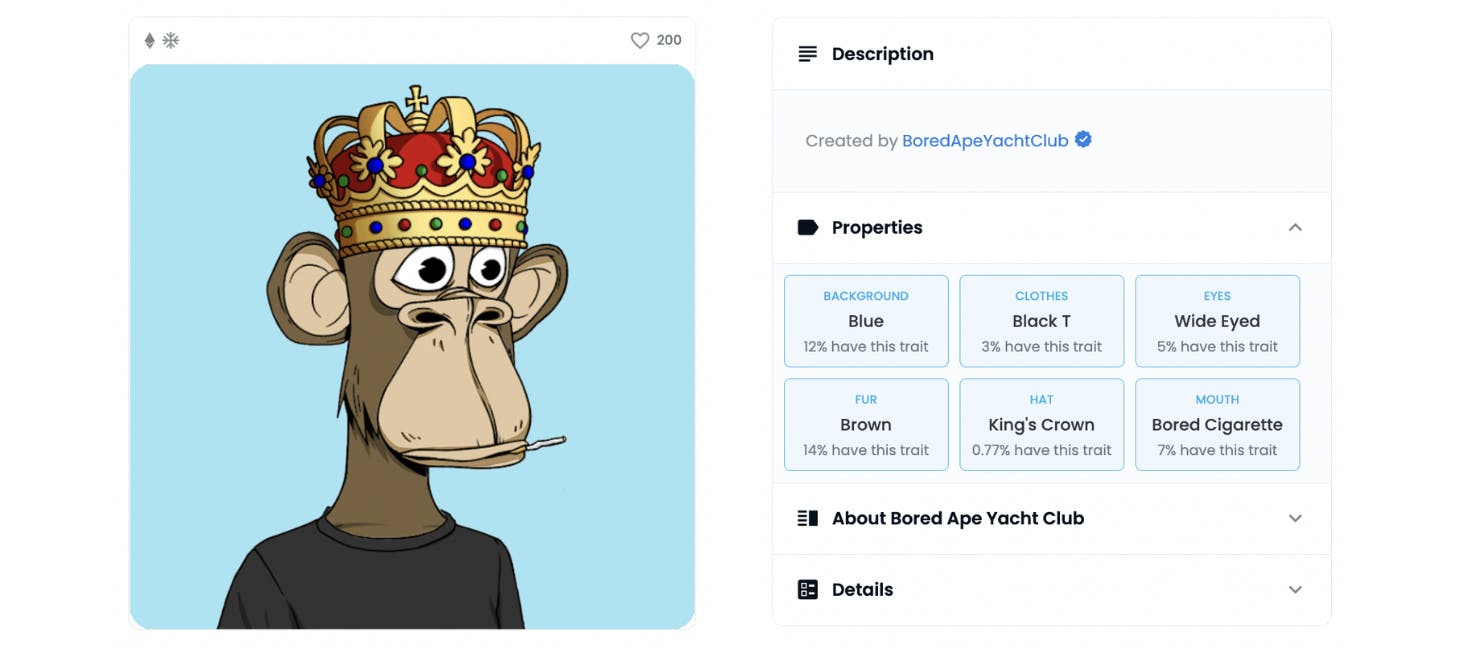
The NFT has an image and some properties, including background color, clothes and eyes. These are all part of the metadata of the NFT. The metadata is essentially the content of the NFT.
File Storage in web3
It's very expensive to have all your NFT media on the blockchain and inefficient when you want to reference it back. Thus the NFT metadata (especially images and audio files) are not on the blockchain.
In many cases, the metadata is stored on platforms such as Google or AWS. Although it's convenient to do this, these central authorities have the rights over the content and can take it down or apply censorship. Additionally worth mentioning that these platforms expose a single point of failure.
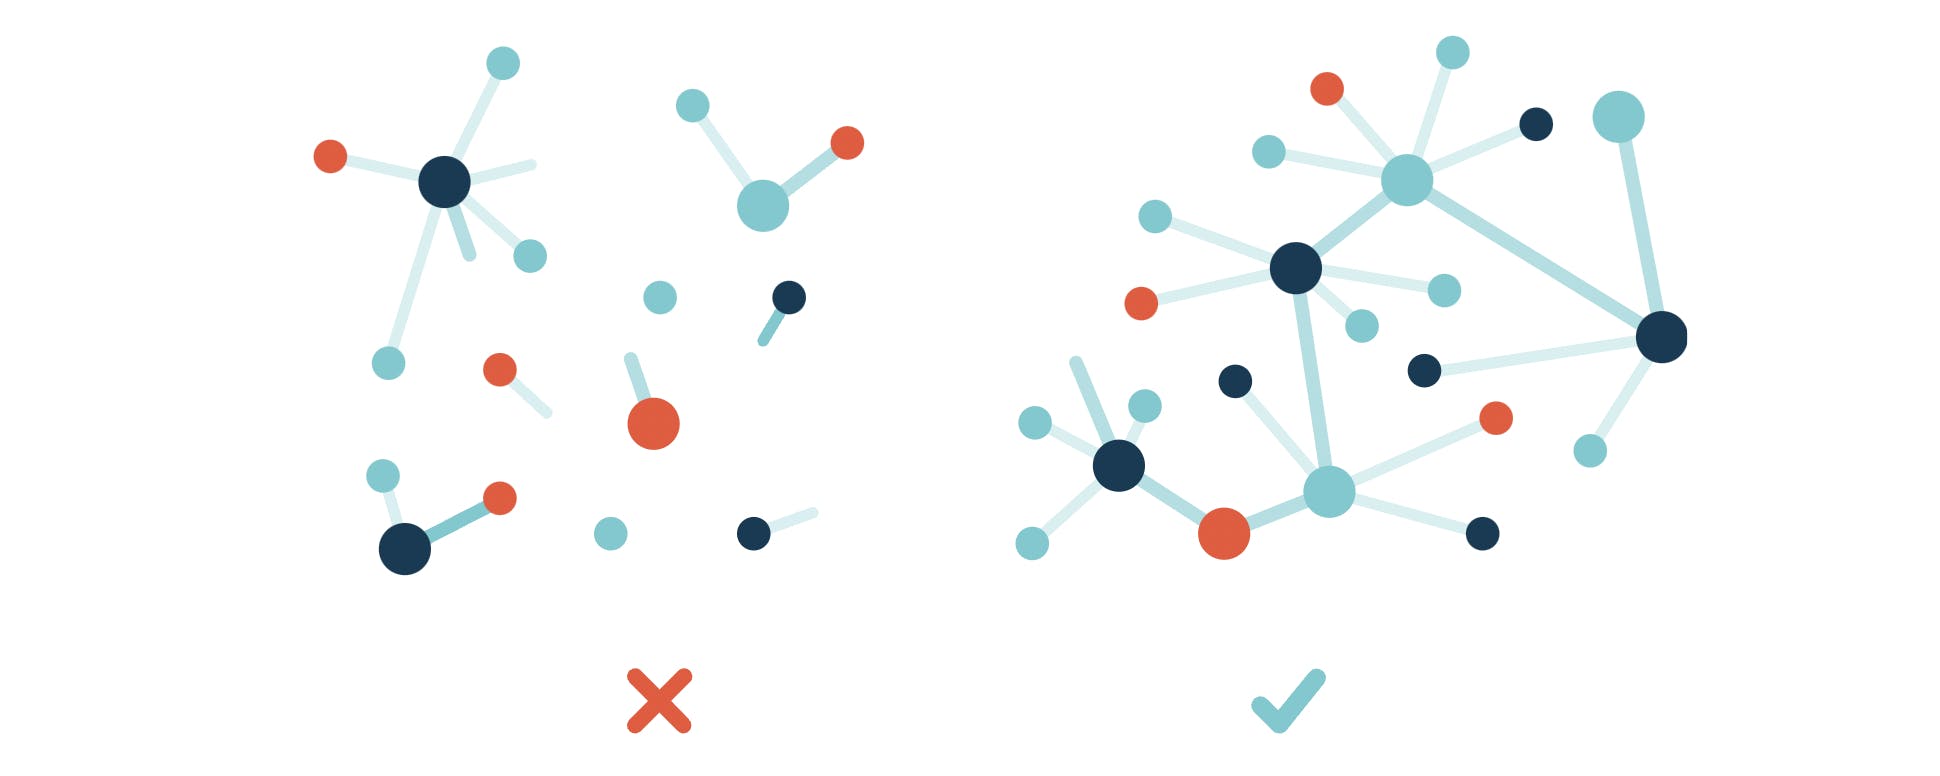
Another alternative is to have the media on a decentralized network. One of the most popular decentralized file storage platforms is IPFS. Especially as we're talking about decentralizing the tech stack, file storage is an essential piece.
IPFS stands for InterPlanetary File System. It is a distributed system for storing and accessing files, websites, applications, and data.
IPFS addresses files based on the content instead of the location. When you add a file to IPFS, it is split into small pieces and stored on an IPFS node. Each piece is given something called a content identifier (CID). It's a cryptographic hash of the content that can be referred to by other nodes. Let's say you want to add a new file. In that case, you'll get a new CID. The previous file can not be modified. Here's more on how IPFS works.
The content on IPFS is not permanent by default. As long as there is interest in the files on IPFS, the files will be available. Content that is not accessed will be collected by "garbage collectors." This way, un-used content is cleared out to make room for new content.
Since IPFS is a distributed network with a garbage collector, you may need to use a "Pinning service." A pinning service runs IPFS nodes and allows users to pin data on those nodes. Pinning prevents data from being deleted and makes it efficient to get the data back. Basically it ensures your data will stick around.
Pinata is the pinning service we'll use in the tutorial below. Worth mentioning that there are additional benefits to pinning, including improving speed, providing redundancy and uptime. Also it makes itv very easy to upload and manage files on IPFS.
Note: You may have also heard of Filecoin. Filecoin offers long-term storage solutions on IPFS. It is a decentralized storage marketplace that's built on top of IPFS. It allows users to rent hard disk space and earn FIL tokens, providing economic incentives for users. It's an important complementary solution to IPFS.
Recap of Gas Fees
Last but not least, every NFT conversation needs a gas fee section. To recap, each transaction on the blockchain has a cost. For example, when you want to mint, buy or sell an NFT, you need to pay the price called gas fee. Gas is the measure of the unit to denote the cost of a transaction.
On the Ethereum blockchain, gas fees are paid in ETH. Due to the high demand for the Ethereum network, gas fees are pretty high. Especially when there is a popular NFT project drop, you could pay more than 100 dollars just for a single transaction.
With the increasing demand, scaling platforms have become increasingly popular. You can read more about Ethereum scaling over here.
That's where Polygon comes in. Polygon is a full suite of scaling solutions for Ethereum. It makes it easy for developers to build and users to use. For example, in the project, I deployed my smart contract to the Polygon Sidechain and paid less than 0.5 dollars(!); this fee includes the contact creation and minting of the NFTs.
Create a Generative NFT Collection & Deploy to the Polygon Network
Project Tools
- Metamask Wallet: crypto wallet
- OpenZepplin Contracts: library for secure smart contract implementations. We will be using the ERC271 library standard.
- Remix: Online Ethereum IDE
- Pinata: NFT media management platform making it easy to upload & manage files on IPFS.
- Infura: Has a full suite of blockchain development tools. We'll be using the Ethereum API.
*Please note: we will deploy first to the TestNet, which is free to deploy. Afterwards, deploying the smart contract to the Polygon network cost me less than 0.5 dollars. If you want to deploy to Polygon, you must have MATIC tokens.
Prerequisites
Create an account on Metamask.
- Get some Rinkeby ETH (free TestNet money); you can use the Alchemy Faucet.
- If you want to deploy to a mainnet, you'll need to have some crypto in the account. For the Polygon Network you will need MATIC tokens.
You need an Infura node to talk to the Ethereum Blockchain. Sign up for an Infura account for free and create a new project. Then, in the "Keys" section, make sure your Endpoints are talking to the Network you'll be using.
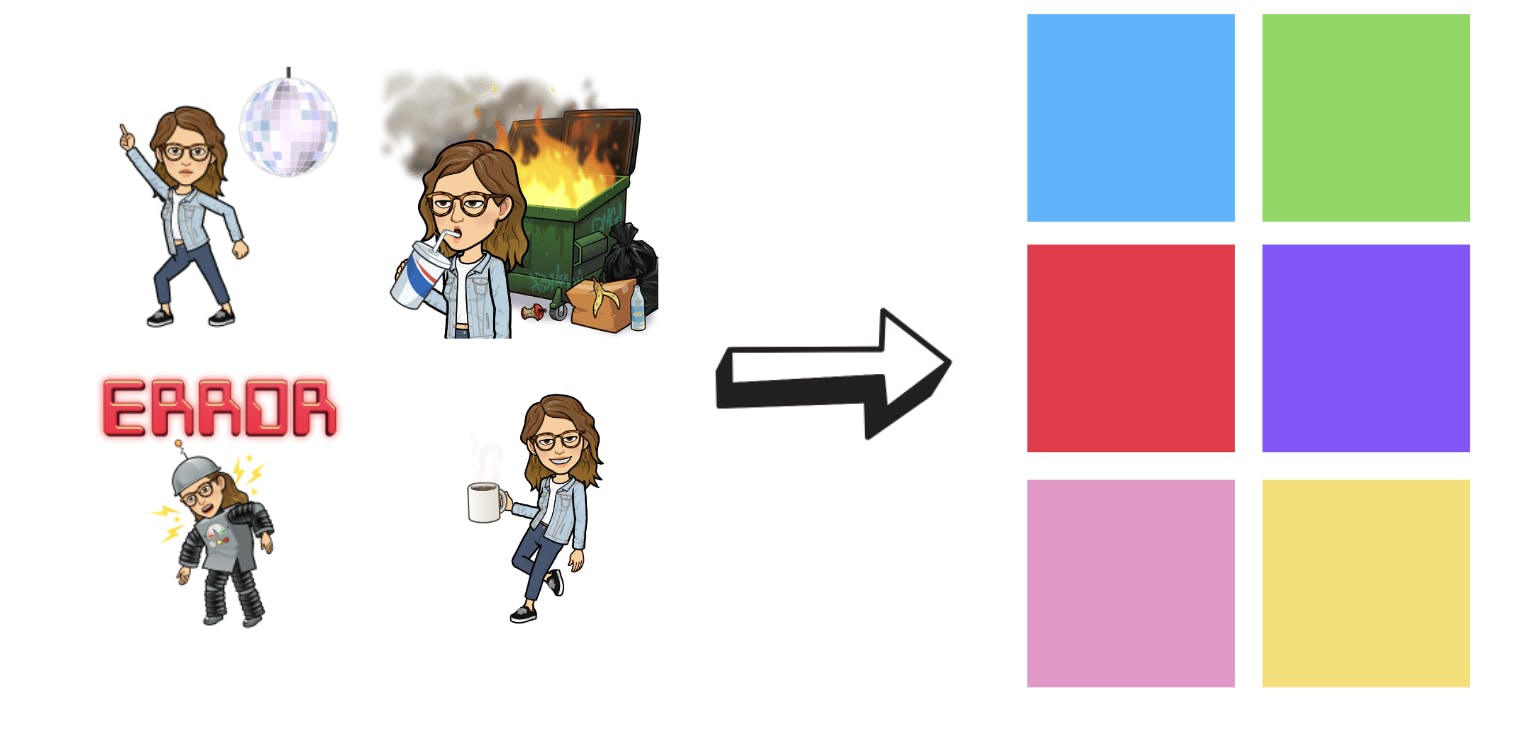
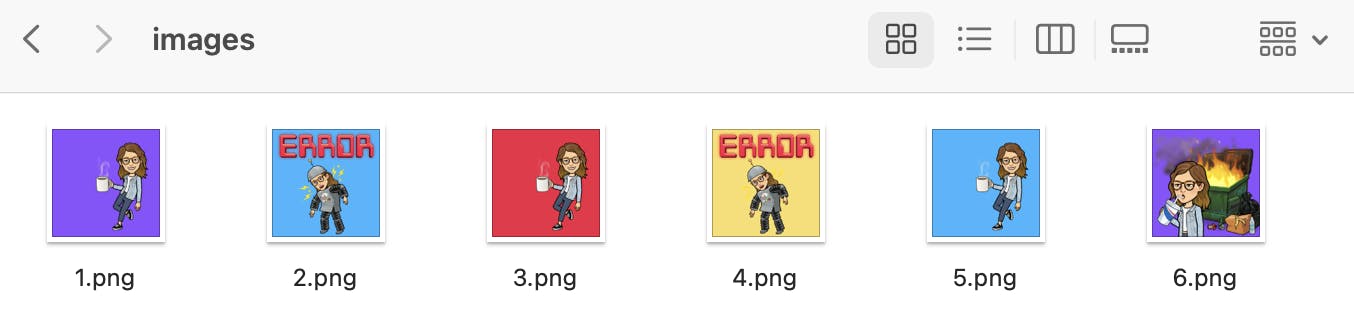
Get some images to layer on top of the NFT collection: I've got some bitmoji and different background colors. The code will layer them on top of each other.
Create your generative NFT collection
It would be a lot of trouble to create the NFT images one by one. Instead, we'll want to do this programmatically. We'll be using a repo that takes different image pieces and layers them on top of each other. The code will generate the images and the JSON metadata files for the collection.
Special thank you to Daniel for creating the HashLips Art Engine.
Head over to the repo over here. Clone the repo and install the dependencies.
git clone https://github.com/HashLips/generative-art-node

yarn install
You need different pieces of images that will be layered on top of each other, such as background, eyes, and hair attributes. All the pieces will be in the folder and the code will automatically layer them on top of each to generate the images.
I've added a couple of background colors and some bitmojis for mine. Create your layers folders in the layers directory.
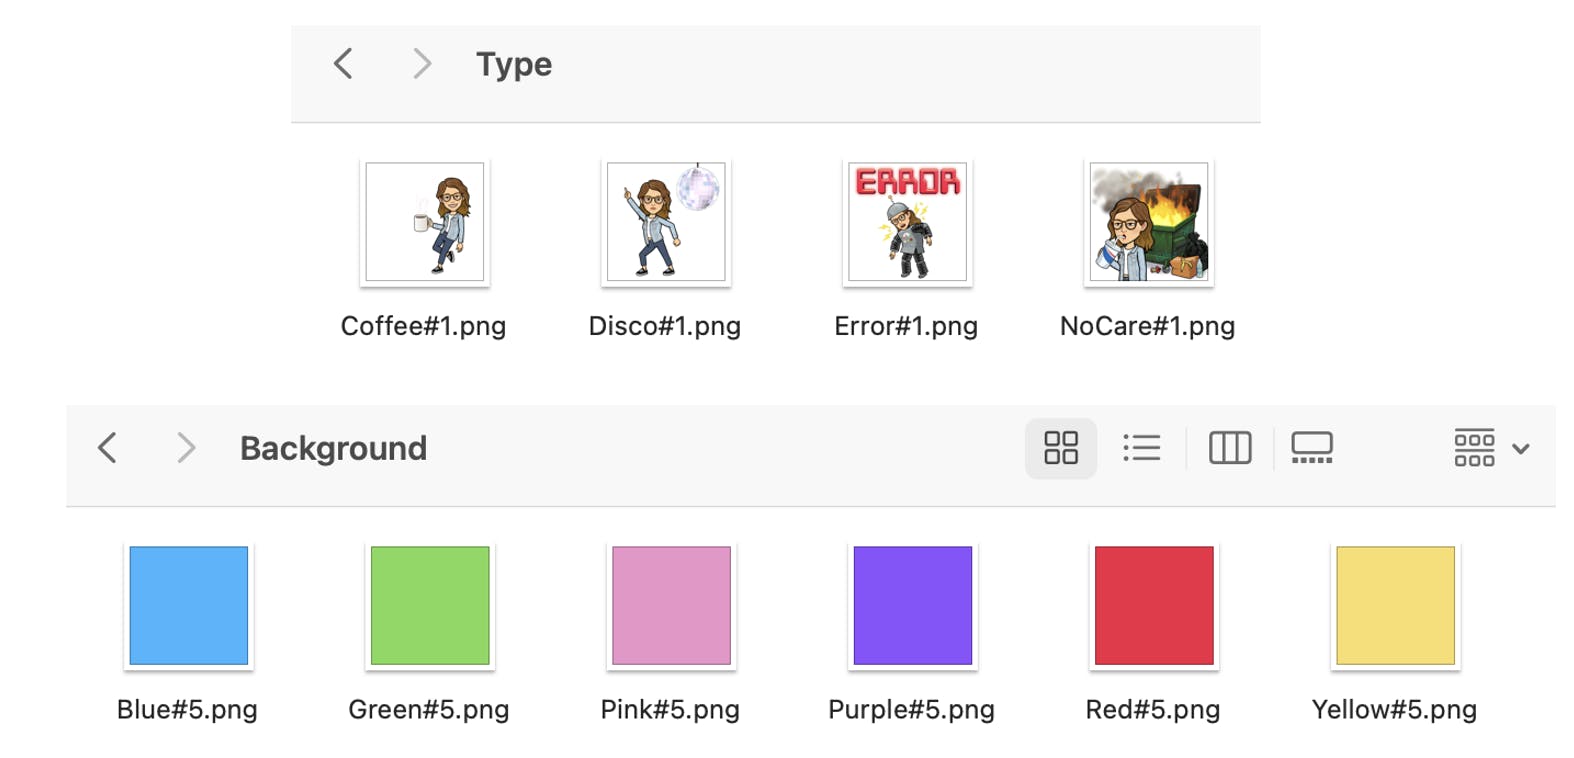
Head over to "Src/conig" to change the type of layers in the project. I only have a Background and a type.
// change the layers configurations to match your folders
const layerConfigurations = [
{
  growEditionSizeTo: 5,
  layersOrder: [
    { name: "Background" }, // refers background folder
    { name: "Type" }, // refers to the Type folder
  ],
},
];
Run the code to generate the images.
Yarn run buildThis will generate the generative images. On the build folder you should now have an "images" folder containing them.
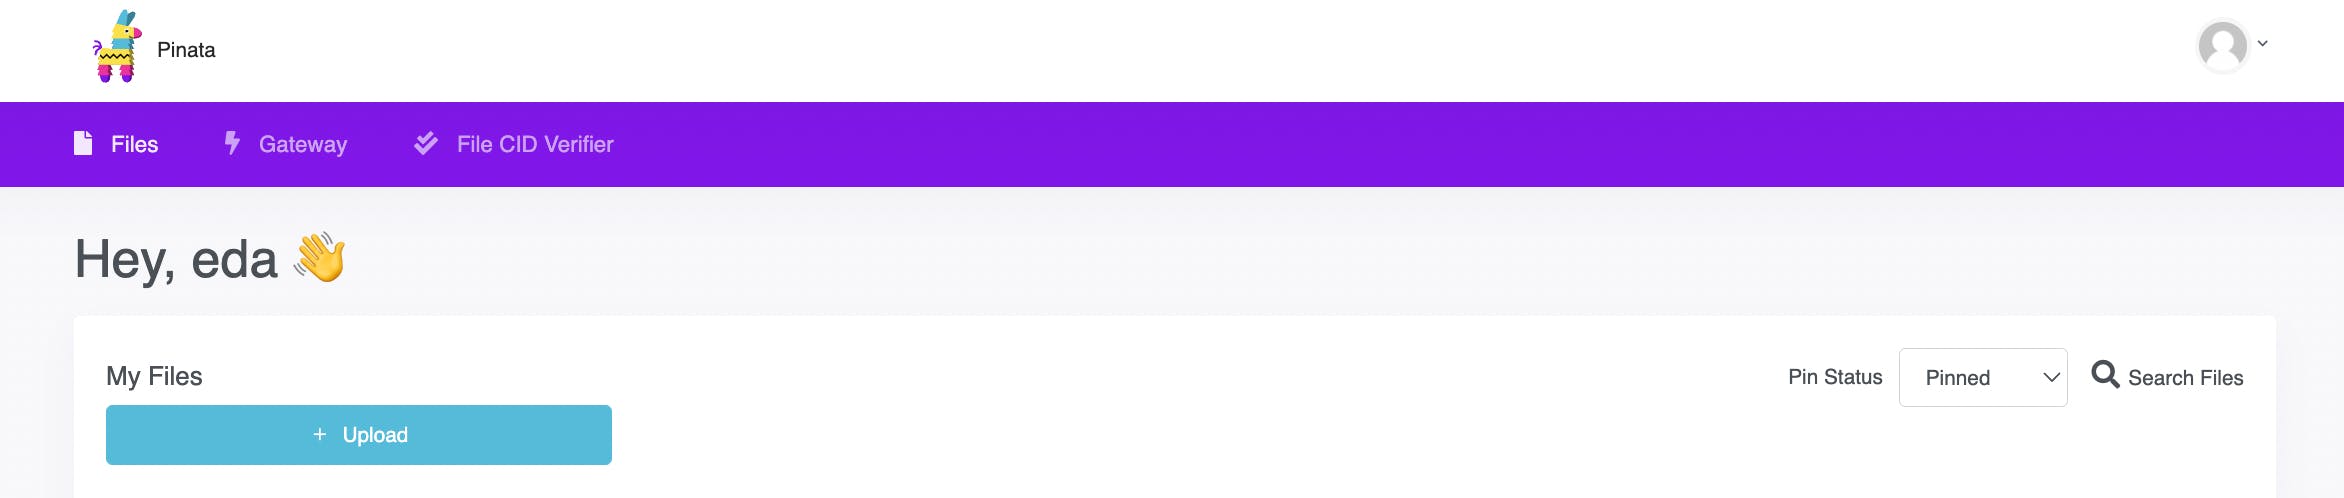
We want to have these images on a decentralized network for out NFT Collection. To store the images and all the NFT metadata I'll be using Pinata which will upload the data to IPFS.
Log in to your Pinata account and upload your folder.
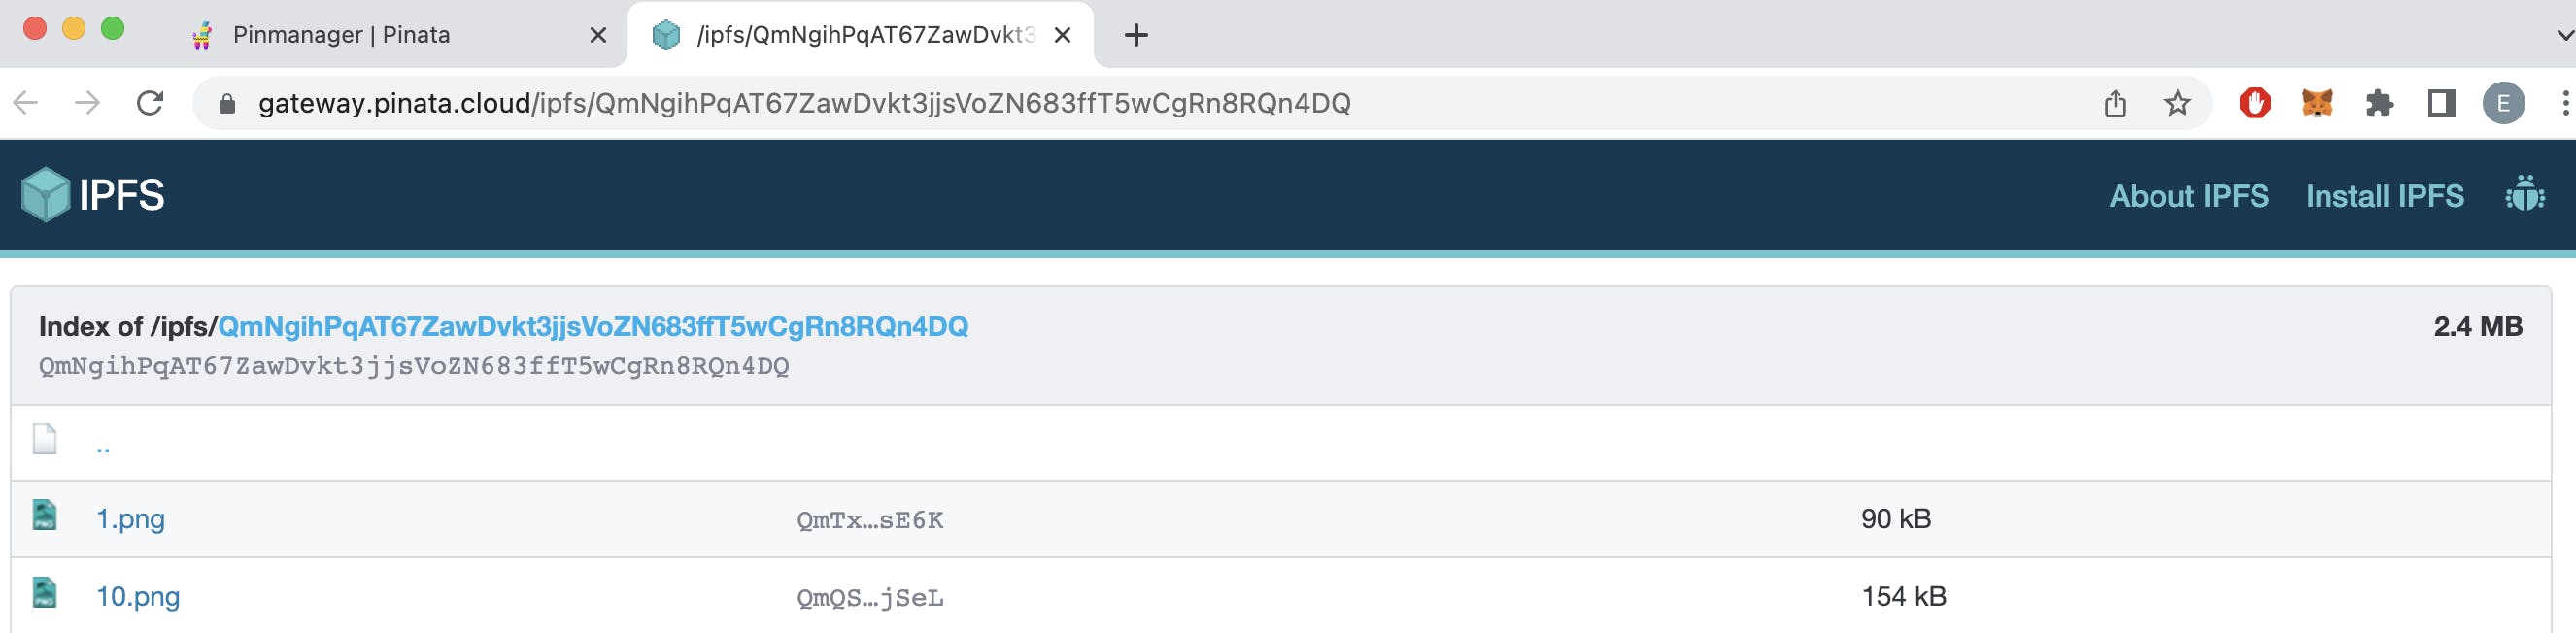
Once uploaded, you should see the CID for the folder. This is the hash for the images.

When you click on the folder you can see the details of the files separately and the index on IPFS.
We need to use this hash to create the NFT metadata as well. This way the NFT metadata will refer to the images on IPFS. The code has a script to auto-update all the JSON metadata all at once. On src/congig.js update the Ethereum metadata.
// General metadata for Ethereum
const namePrefix = "test Collection"; // name prefix
const description = "Got my collection"; // nft descriptions
const baseUri = "ipfs://<cid>/"; // add cid
Run the command to regenerate the metadata files with the new baseURI.
node src/update_base_uri.js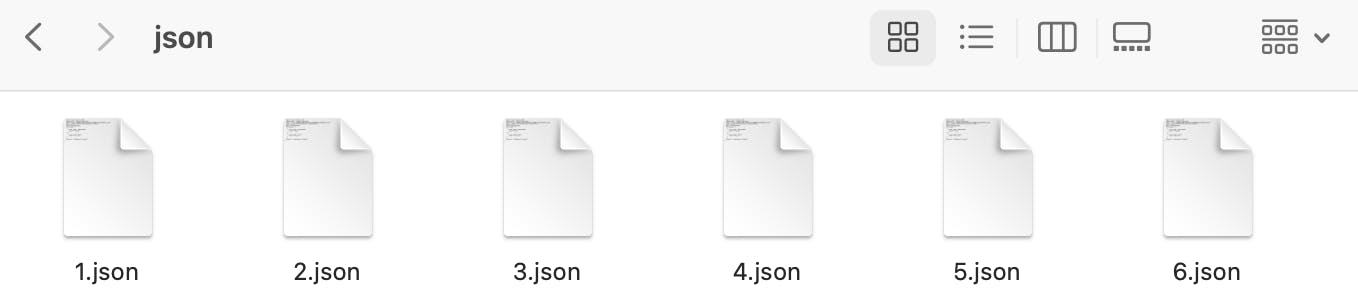
The json folder should be updated. Now the NFT metadata is ready to be uploaded to a decentralized network. Head over to Pinata and upload the JSON folder. You should see the CID for the JSON folder. We'll be using this in the next steps.

📍 Checkpoint: So far we have created the media for the NFT collection. All the data is uploaded to IPFS via Pinata. Now we need to make the smart contract to create the NFTs.
😎 Make sure to check out the repo to do some more cool stuff such as pixelate your NFTs. We're using the basics in this tutorial. Shout out to Daniel for the repo!!
Create your Smart Contract & Deploy to Polygon
Head over to Remix. Create a new file under the contracts folder. The file extension should be ".sol, " the solidity file extension.
We will use the ERC721 standard for the code. Here is how the code should look like. I have added comments to explain what's happening in the code.
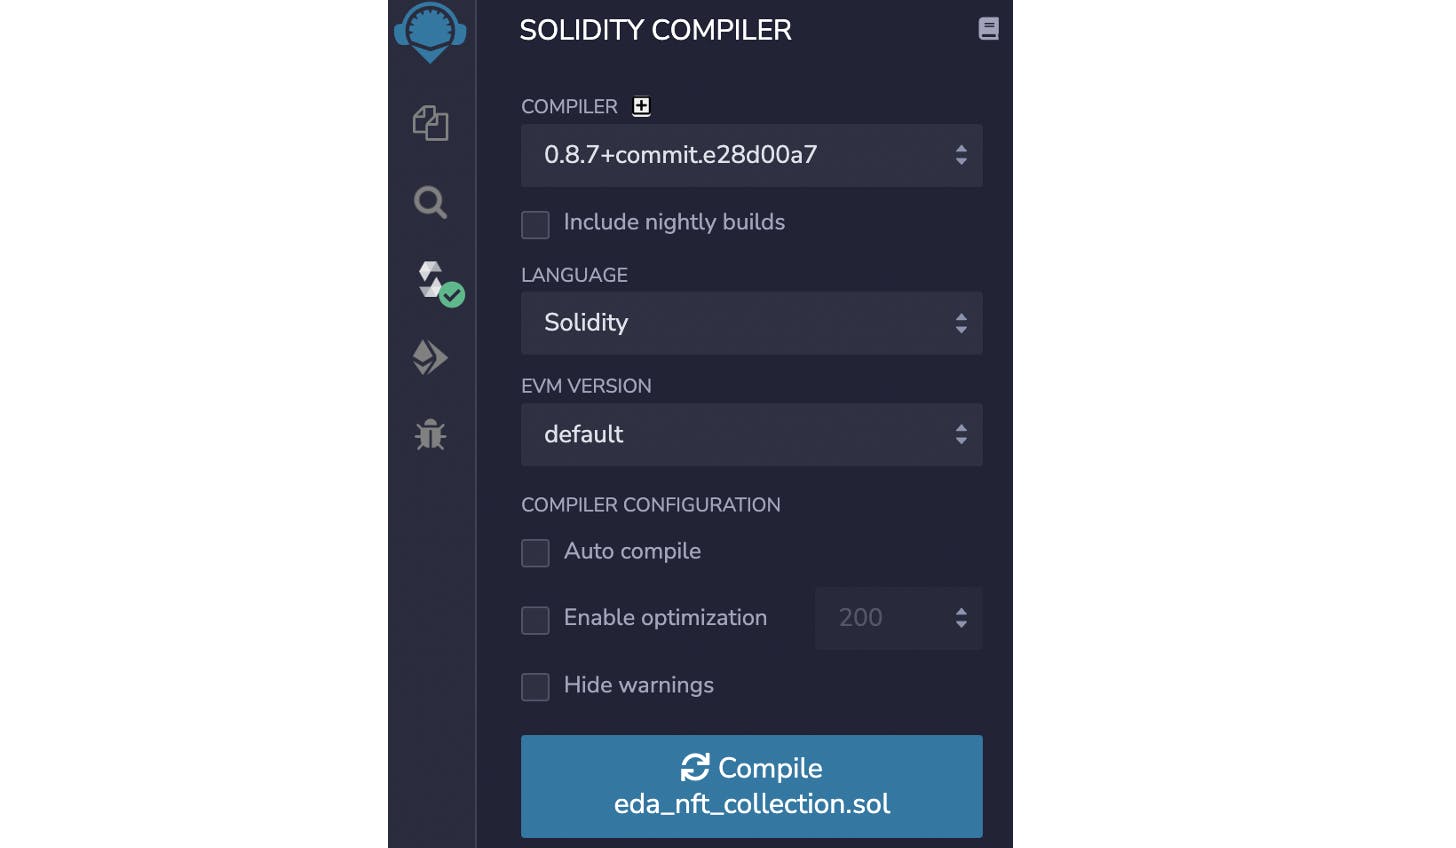
// SPDX-License-Identifier: GPL-3.0

pragma solidity >=0.7.0 <0.9.0;

import "@openzeppelin/contracts/token/ERC721/extensions/ERC721Enumerable.sol";
import "@openzeppelin/contracts/access/Ownable.sol";

contract EdaMoodsNFT is ERC721Enumerable, Ownable {

   using Strings for uint256;

   string public baseURI; // the ipfs hash
   string public baseExtension = ".json";
   uint256 public maxSupply = 20; // max total nft

   constructor(
       string memory _name, // token name
       string memory _symbol, // token symbol
       string memory _initBaseURI // token metdata
   ) ERC721(_name, _symbol) {
       setBaseURI(_initBaseURI);
       mint(msg.sender, 10); // mint at the initial run
   }

   function _baseURI() internal view virtual override returns (string memory) {
       return baseURI;
   }

   function mint(address _to, uint256 _mintAmount) public payable {
       uint256 supply = totalSupply();
       require(_mintAmount > 0);
       require(supply + _mintAmount <= maxSupply);

       for (uint256 i = 1; i <= _mintAmount; i++) {
           _safeMint(_to, supply + i);
       }
   }

   function setBaseURI(string memory _newBaseURI) public onlyOwner {
       baseURI = _newBaseURI;
   }

   function setBaseExtension(string memory _newBaseExtension) public onlyOwner {
       baseExtension = _newBaseExtension;
   }

}
Go to the "Solidity Compiler" tab and click "Compiler .sol" (Note: you need to have that file open on the tab)
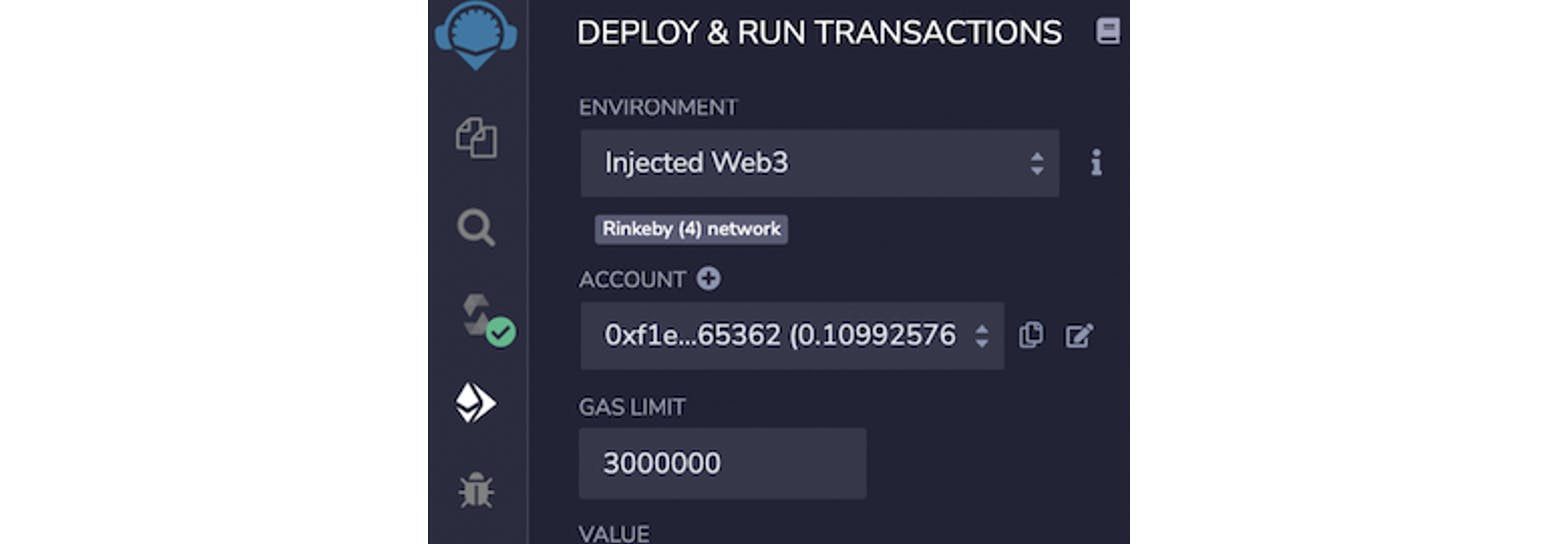
Now, we are ready to deploy. Go to the "Deploy & Run Transactions" tab and select "Injected Web3." You'll need to add your Infura node id and connect your crypto wallet.
On the DEPLOY section add the name, symbol and the, BaseURI. Note the format of the baseURI should be as: "ipfs://{your_cid}/"

We are now ready to deploy. On your Metamask, select the Network you want to deploy the contract to. If you're using a mainnet, you'll need to have some money to pay the fee. Alternatively, you can use a TestNet like Rinkeby, for that you can get some TestNet tokens from here.
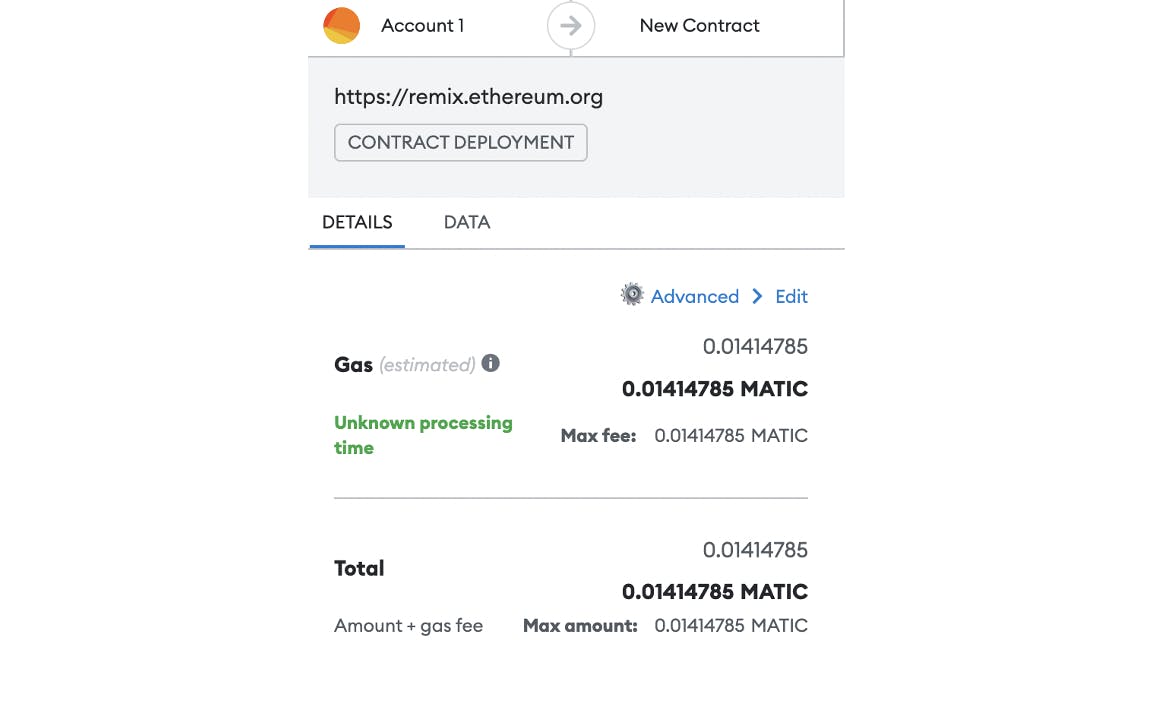
Click "transact." A pop-up will appear on your Metamask with the associate fee. Once approved you should see the transaction processing on the terminal. You can go to Etherscan to view the details.
It cost me less than 0.5 dollars to deploy to Polygon. (Before moving to Polygon I deployed to Rinkeby to make sure all is working.)
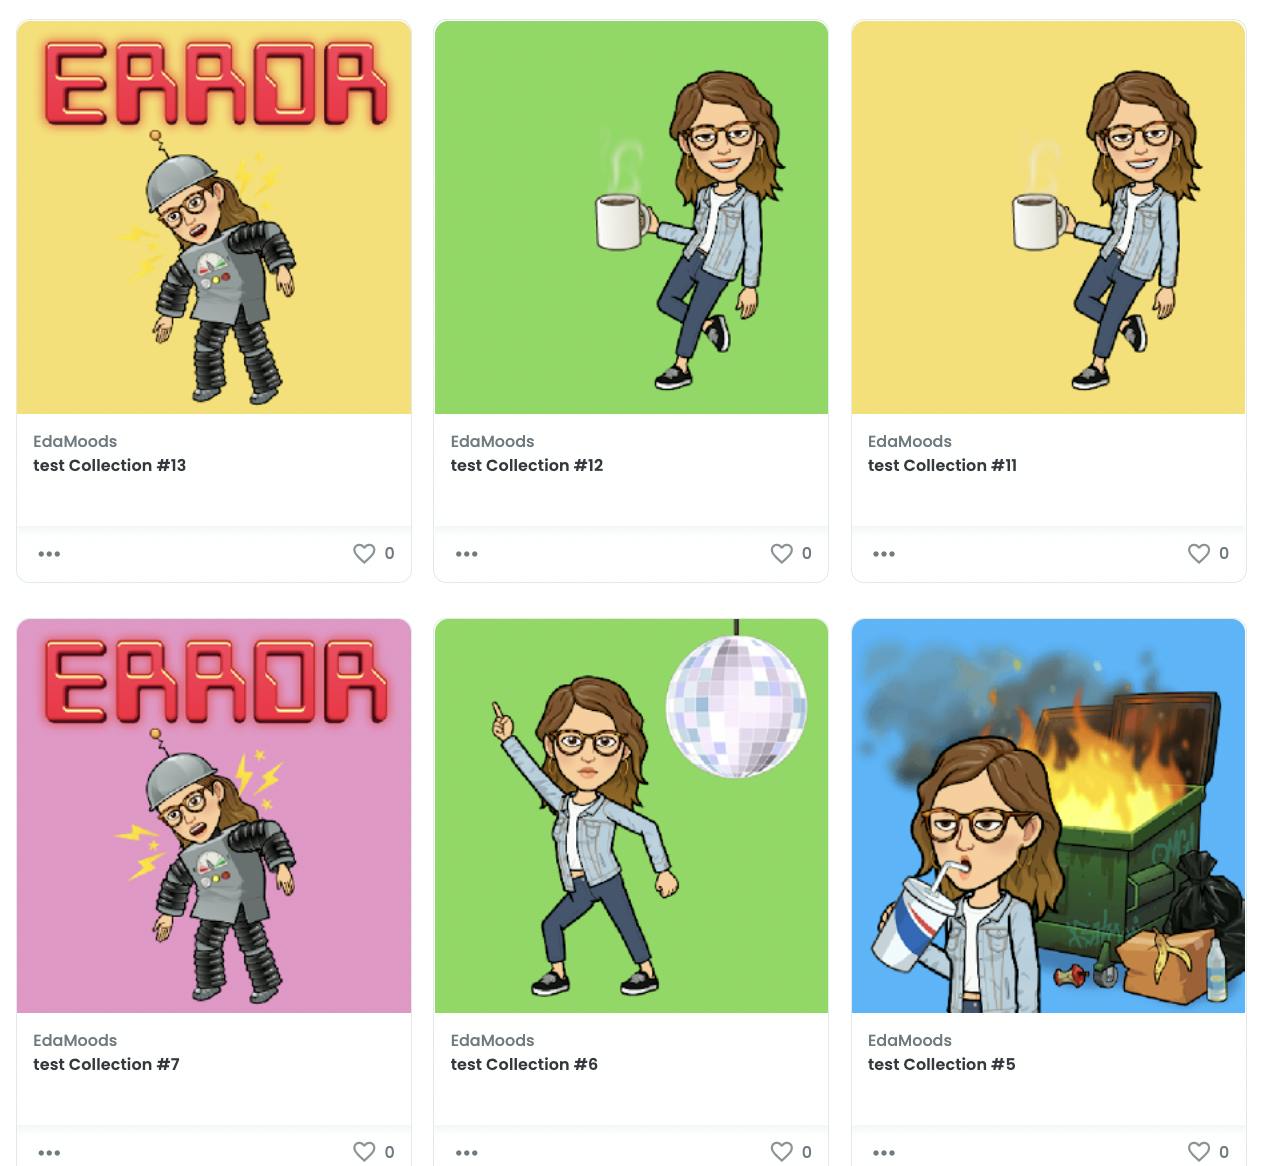
🎉 Head over to Opensea to view your collection! (here's the TestNet Opensea.)
On a final note, these NFTs are not for sale, and this is a beginner tutorial. If you want to make an NFT collection, add the security features and do your checks. Overall it was a fun project, and I hope it clears some concepts around NFTs and storage in web3.
Thanks for reading my article. If you have any questions drop them below and connect with me on Twitter, I'd love to hear from you!